The class is finished a bit late today. All the rest of pieces of deck were glued and we coved the flange on the hull.
The transom is going to go onto this red frame. That pink strip of foam represents the temporary flange for vacuming. Vac tape will be put on it. Transom could have gone under the floor but it didn't. We cove on the temporary flange later on.
Lofting nails and screws are seen somewhere. When sanding the excess glue, be aware of this metal thins because if the powder of these remains on the foam it gets rust after all.
We could have made the flange cut at slit and fit those right away.
gone off rubberised epoxy. So hard.
fairing powder with epoxy.
Getting a fair line going with the long strip, we'd better using long board by hand instead of using band saw.
a nice jig coverd with peel ply on plastic tape on it. This goes on to the topside.
We have to make the other small bits of flange going on to the cockpit bulkhead attaching on the underside of cockpit side and topdeck which can be used as a mould for the flange. The reason they have to be made is that it gets load of people when the boat heels.
Chris explained us how the centre board works but it's pretty hard for me who have never sailed befor. Gantry will be stood up on each side of centre case anyway.
This is a sketch for explaining what the main sheet and boom bang are. If I was right, the main sheet is for fixing the across movement of boom and boom bang is for lengthway movement(mostly going up). Am I right?
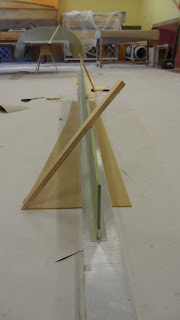
dryfitting the flange jig
deck foam dry fitting. Transom hasn't been done yet. Looks pretty nice.
That small piece on the starboard side of transom represents where the rudder plate, which is 8mm plat of laminated fibre glass, goes on.
Make sure to get 50mm cover on each side and the laminate has to cover the floor which is not on hull at the moment. Coving is finished filling the small gap in the middle of collision bulkhead.
This shape has some curve so Lance peel the peel ply off and put the plastic tape on it.
We made a transom pattern again with the baked bean stick.
Put the masking tape or plastic tape on where the glue goes on.
Looks like EDB 400. This tape goes on the gap shown above on the collision bulkhead.
The last dryfittin.
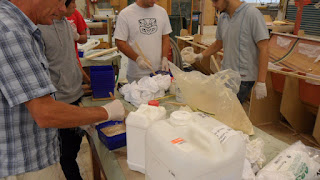
Mixing glue which is fun time meaning the last job of the day.
Chris helped us coving. He put some glue on the corner and Lance follows him and coves.
Like this.
Glueing as well.
We have to glue on kind of overhead surface which is tricky a bit.
Laminating completed on collision bulkhead.
inside the prow
nice coving. Three layers of 300 EDB flange will be on this tomorrow.
Nice coving on transom as well as on the rudder plates made of foam which are temporary at the moment.
Make sure drive some lofting nails on the foam so it doens't pop up.
Chris told us about the prow tube and the foam above going onto the tube. I suppose I can't get a vision of them until they are set up.
Transom is a bit higher than it has to be but we can sand it down tomorrow.
Cool
Using a straight edge against the transom, support it against some weight such as a heavy workbench or things like that and push it. It is better to work to put the transom behind the deck rather than the transom under the deck.
optical illusion
halyard
bridge deck bulkhead
project manage
posh
stanchion(at quarter knee)
flange has to be slightly pushed againt underside of deck in order to squeese the glue to topside.


